Migrate your website to a new host is a hassle-free task. Sometimes, the new hosting service assists you in migrate the website, or in some cases, this can be done manually. There are two ways to shift your website to a new host: one that can be done manually and the other one helps you do that using a plug-in.
This article will discuss migrate your website to a new hosting provider using a manual approach.
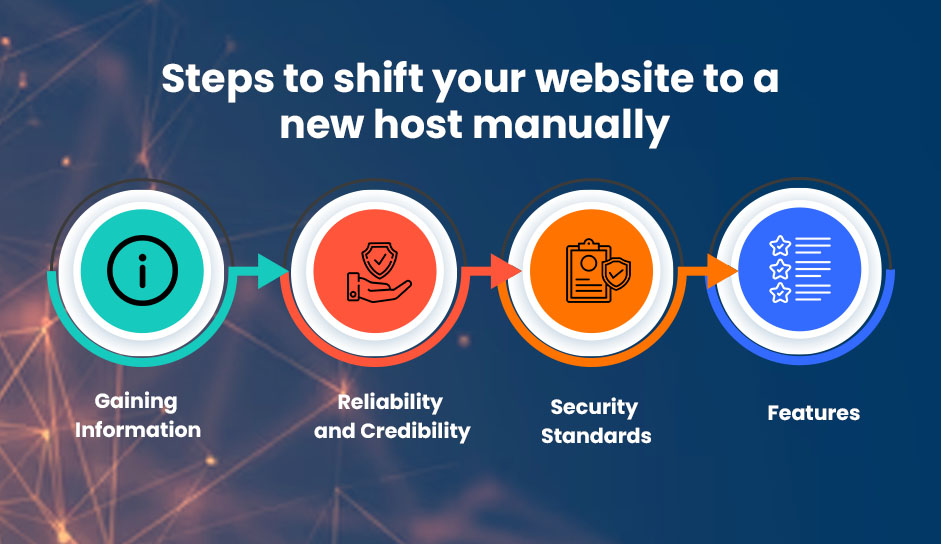
Steps to shift your website to a new host manually
Look for an appropriate hosting service
Be very careful while choosing a new hosting service and do this by keeping long association in mind. Make sure to choose a new web host before leaving the previous one keeping the following points in mind.
- Gaining Information: Read the reviews posted by the people and their user experience to learn if the service will satisfy all your preferences.
- Reliability and Credibility: Study the credibility of the hosting service and know if it is worth your time and money. Spend your money only at places worth it; you can understand that via reliable sources.
- Security Standards: Security is an essential factor to know about before shifting your websites. Check that your new web host service provider has clear and comprehensive cybersecurity measures like SSL encryption (Secure Sockets Layer) and secure CDNs (Content Delivery Network Security).
- Variety of Features: Different hosting services offer different kinds of features and you have to find those that go with your preference and usage. Study the features properly to find the most suitable one.
Also, consider the different types of web hosting plans available and the resources they provide.
Creating backup for the website files and exporting them
Back-Up Your Website Files via hPanel
- hPanel🡪 Files🡪 Backups 🡪Files Backups 🡪 Select🡪Choose the most recent date in a drop-down menu🡪 Prepare to download.
- When the files will be ready, a notification will be received that will prompt you to download them.
Back-Up Your Website Files Manually
Exporting can also be done manually. First, connect to FTP Server via An FTP client. We will use FileZilla. Second, download your website files to your local system.
- hPanel 🡪 Files 🡪 FTP Accounts
- Open FileZilla 🡪 File 🡪 Site Manager 🡪 New Site.
- Select Logon Type to Normal and fill your FTP account details 🡪 Connect 🡪 OK.
- You will now have to download files to your computer.
- Open the FTP and select a place to download, then right-click and select Create Directory and enter it. Go to Remote Site and find your website’s folder. Drag the folder to the Website backup folder.
Download the databases
Backup your Database file using hPanel
- hPanel 🡪 Files 🡪 Backups 🡪 Database Backups
- Select the Backup Data to be downloaded and click on Show Databases.
- Click on Prepare to Download after selecting the most recent Backup Date.
- Wait for a notification that asks you to download it. Finally, Click on Download the Database.
Backup your Database file Manually
Follow the given steps in sequence to backup your website database file manually
- Access hPanel 🡪 Databases 🡪 phpMyAdmin
- Check out the List of Current Databases 🡪Find your Database🡪 Enter phpMyAdmin
- Export after Selecting all the files🡪 Export Method🡪Select Quick🡪Format🡪SQL
- Click Go to download the Zip file of your database.
Migrate the website’s files and database to a new host
You will be required to have your new hosting client’s account FTP. For uploading your website files you will have to:
- Connect FileZilla to your new hosting account🡪public_html folder in the Remote Site column.
- Locate the folder you want your files in from the Local site column.
- Right-click on the folder and select Upload.
Want to know? Which is better Bluehost Vs HostArmada for a new web host?
Pointing your domain name to your new web host
You have now successfully chosen a website, backed up your files and database, and shifted them. The next step involves you pointing your domain name to the new hosting service. In some cases, the old domain names are kept but you can even go for a new one if you want to do so.
You can go for a domain name transfer to shift your domain registration to your new provider. This process requires you to pay a Domain Transfer fee.
- Find New Namesavers: Your new hosting provider holds one or two nameservers. To check this, navigate hPanel→Hosting → Plan details.
- Replacing your Domain’s old Namesavers: Configure the domain’s nameservers after logging into the domain registrar. In your new account’s hPanel, go to Domains, [your domain name], DNS / Nameservers, and then click Change Nameservers. You have two options: Fill in the fields manually. Click on Save after following the steps mentioned above.
- Wait for DNS Propagation: DNS changes usually take up to 24 hours. You can still speed up the process and flush your DNS cache. Now, if you want to see, if your domain has the same IP address as the one provided by your new hosting provider, follow the following mentioned steps: Go to hPanel and find your host’s IP address on the left sidebar. Move to Advanced then DNS Zone Editor. Under the Type column, go to A and check your domain’s A record value under Content. Make sure it has the same value as the IP address given by your web host.
Testing and reviewing
We are moving ahead under the assumption that all the above-mentioned steps have been followed. You will now be required to check if your website’s front and back ends are working perfectly. Doing this can also avoid website downtime and find errors before the site goes live so you can migrate your website.
On your hosting dashboard, carefully navigate the various sections of your new control panel. Ensure all the settings are configured per your website’s specifications.
Browse all of your web pages and make sure that all content, such as images, Text, and videos, loads smoothly without any disturbance. Don’t forget to check whether the contact forms are working properly or not.
If all the above-mentioned steps are done well, then you need not worry and can continue with your manually transferred new hosting service and enjoy its features.

Read more about how to start a WordPress blog.
Related posts:
 What is an SSL certificate? Everything you need to know
 GoDaddy vs Namecheap: Which is The Best Domain Registrars?
 Zyro Review 2024: A Comprehensive Look at Its Features & Pricing
 Transfer Domain from GoDaddy to Namecheap
 How To Change Favicon On Weebly?
 Wix Vs GoDaddy – Which one is The Best Web Builder?
 GoDaddy Vs Host4Geeks- Which One to Pick?
 GoDaddy Vs iPage Hosting Comparison: Which One is Suitable for You
 GoDaddy Vs Krystal Hosting: A Comprehensive Web Hosting Comparison
 Bluehost Vs DreamHost: Which One is Best for You?
 Bluehost Vs Exabytes- Selecting the Best Web Hosting Solution
 Avast Vs F-Secure Premium Security 2024
Pingback:WordPress Site- Beginner's Guide to Export
Pingback:A2 Hosting Vs GreenGeeks Comparison
Pingback:GoDaddy vs Bluehost: Which Is the Better Value for Your Money?